Compression fittings are one of the most reliable and simple ways to connect copper pipes, especially in plumbing systems. Whether you’re working on a DIY project or conducting professional plumbing work, understanding the correct use of compression fittings is essential. In this blog, we’ll walk you through the necessary steps to use compression fittings on copper pipes effectively.

What Are Compression Fittings?
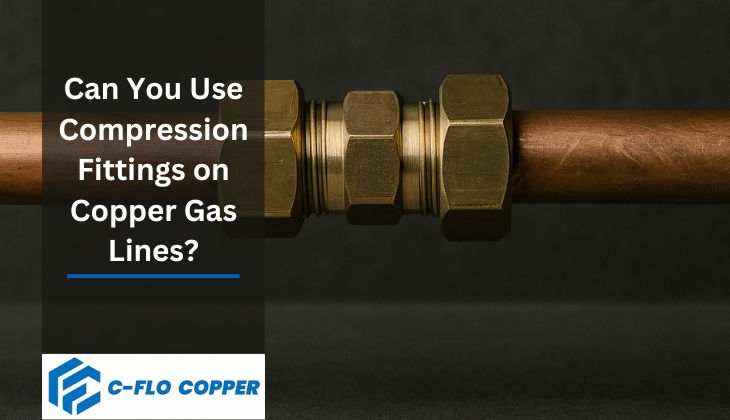
Compression fittings are mechanical fittings that use a compression ring (also known as a ferrule) to create a seal between the pipe and the fitting. They are widely used to connect copper pipes, offering a secure and leak-proof joint without the need for welding or soldering.
Materials You’ll Need
- Copper pipe
- Compression fittings (comprised of a nut, ferrule, and fitting body)
- Pipe cutter or hacksaw
- Deburring tool (or file)
- Wrench
- PTFE tape (optional)
Step 1: Measure and Cut the Copper Pipe
Begin by determining the length of the copper pipe that needs to be installed. Use a pipe cutter or hacksaw to cut the copper pipe to the desired length. It’s crucial that the cut is clean and square to ensure proper fitting. When using a hacksaw, make sure to cut straight and avoid any damage to the pipe edges.
Step 2: Deburr the Edges
After cutting the pipe, use a deburring tool or file to smooth out the edges. Deburring is necessary to eliminate any sharp edges or burrs that might damage the compression ring or cause an improper seal. A clean, smooth edge ensures the fitting will slide easily onto the pipe.

Step 3: Slide on the Compression Nut and Ferrule
Before attaching the compression fitting, slide the compression nut onto the pipe. Next, slide the ferrule onto the pipe as well. Ensure that the ferrule is placed at the pipe’s end and that it is positioned correctly, as this will be the part that compresses to create a seal.
Step 4: Insert the Pipe into the Compression Fitting
Now, insert the copper pipe into the compression fitting body. Make sure the pipe is fully inserted into the fitting, and the ferrule is positioned around the pipe end. The compression fitting body should be centered on the pipe.
Step 5: Tighten the Compression Nut
Using a wrench, begin tightening the compression nut onto the compression fitting body. As you tighten, the ferrule will compress around the copper pipe, creating a tight, secure seal. Be sure not to over-tighten, as this can damage the ferrule or the pipe. A snug, firm fit is usually sufficient.
Step 6: Check for Leaks
Once the compression nut is tightened, check the connection for leaks. If you notice any, slightly tighten the compression nut a bit more. You can also apply PTFE tape around the pipe end before installing the fitting, as it can help prevent leaks.
Tips for Success:
- Always use the correct size compression fitting for the copper pipe to ensure a proper seal.
- When working with older copper pipes, check for any damage or corrosion before installing the compression fittings.
- If using compression fittings in a high-pressure system, consider using additional sealing methods or consult with a professional plumber.
Conclusion
Using compression fittings on copper pipes is a straightforward and effective method for creating secure, leak-proof connections. By following the above steps and tips, you can ensure a high-quality installation that will last for years. At C-Flo, we offer a wide range of compression fittings and other plumbing accessories for your pipe installation needs. Reach out to us for more information or to purchase high-quality products.